
Within the previous part to our series, we installed the vSphere infra. We will now deploy the NSX manager and associate it to our vCenter.
NSX Manager
Deploy
Within vCenter deploy the NSX Manager OVF, during the install using the following settings.
| DNS Server list | 172.29.236.139 |
|---|---|
| Domain Search List | packetflow.local |
| Default IPv4 Gateway | 172.29.129.254 |
| Hostname | nsxmgr.packetflow.local |
| Network 1 IPv4 Address | 172.29.129.2 |
| Network 1 Netmask | 255.255.255.0 |
| Enable SSH | True |
| NTP Server List | 8.8.4.4 |
vCenter Linking
Next, we need to link the NSX manager to vCenter. To do so, go to Manage vCenter Registration, and add the required details.
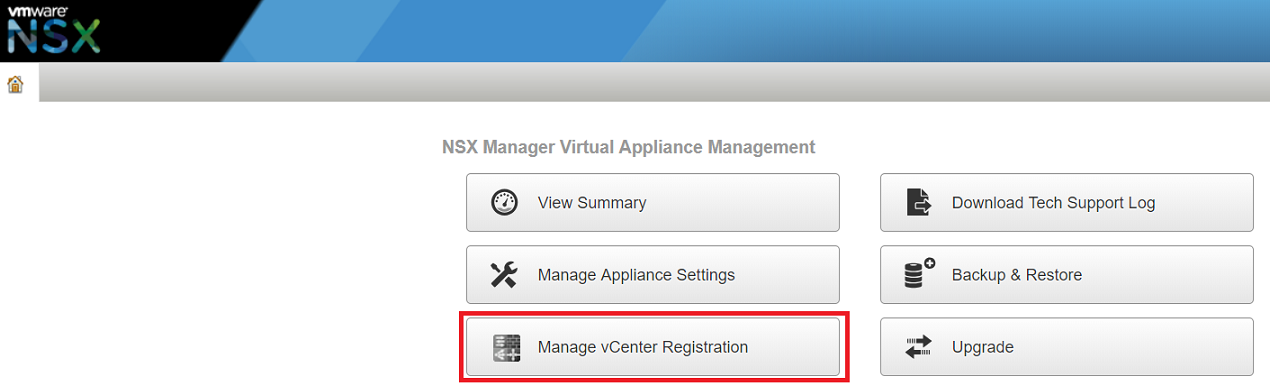
Figure 1 - vCenter linking.
Once done you will see both statuses showing green.
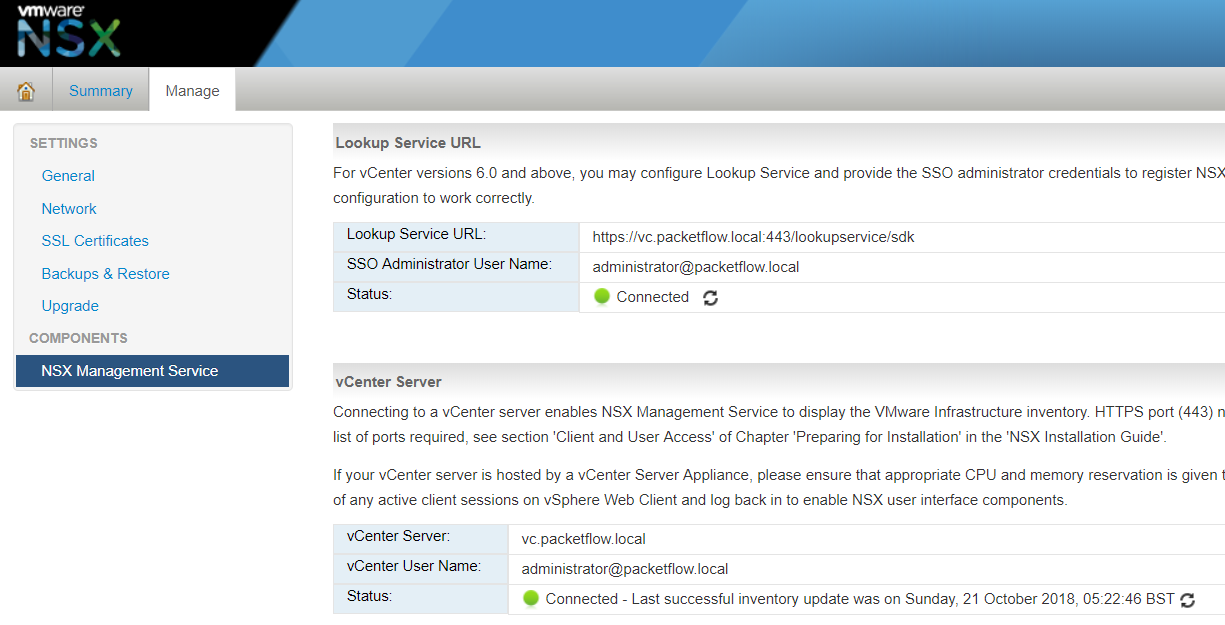
Figure 2 - vCenter Linking status.
License
To assign the license log into vCenter. Perform this via the Flash-based web client, as I couldn't locate the licensing via the HTML5 web client! Navigate to Licenses / Assets / Solutions click on NSX for vSphere / All Actions / Assign License.
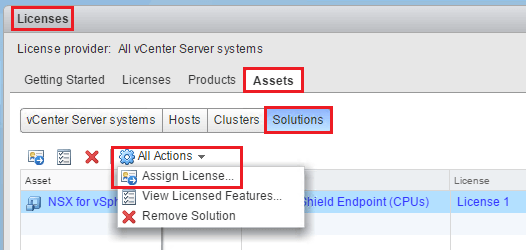
Figure 3 - Licensing.
What's Next?
Within part 3 we will install the control plane, aka the NSX control cluster.